Showing posts with label SEI. Show all posts

Saturday, February 25, 2012

Priceless Friendship

I finally got a chance to play along with this week's Chick challenges {with Ippity}!  Many of you know that this is the challenge blog that I run with my sweet friend and fellow {ippity} chick, Jenny Johns.  Sadly, I rarely have a chance to join in.  I knew that this week's sketch would be perfect for an idea that I had in mind for the new "Fabulous Girl" stamp from {ippity}.


I imagined this sketch as a store window, filled with retro style dresses.  I started with a 3x3.75" white panel, which I stamped and paper-pieced with several different patterned papers.  Then, I cut the panel into three sections and adhered it to my black card base.  I drew some little price tags to go along with the sentiment and the theme of the card.  I was so happy with the results!

I hope that you will find time to play along with this week's challenge, too!  You can find the sketch and all of the challenge details HERE on the Chick Challenges blog.

thanks so much for stopping by today!

Wednesday, February 22, 2012

Happy Halloween

I have a few projects to share using {ippity}'s newest releases. This was a card that made for a recent Paper Crafts magazine. Sadly, it was not chosen, but I still wante to share it!
I used {ippity}'s new stamp set, "Sucks to Get Old". I just love that sweet little lollipop! I colored my lollipops and bows with Copic markers, and I layered the round "pop" to give it some dimension.
The "Happy Halloween" sentiment is from a retired Unity stamp set. I really love the background paper on this card, too. It is an embossed chevron design from SEI. I *think* it is from the "Spooks" collection. Super fun and glossy!
Thanks so much for stopping by today. If you would like to order this stamp set, just head over to the Unity Stamp site-HERE is a direct link to "Sucks to Get Old". I'd appreciate it if you would also click on me as your {ippity} chick!

Tuesday, September 6, 2011

My September Counterfeit Kit

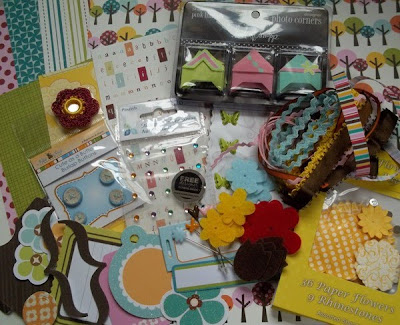
Today I get to share with you the kit that I made for this month's Counterfeit Kit Challenge. We are counterfeiting a beautiful kit from Sweet Peach Crop Shop this month. The inspiration kit featured the Indie Girl collection from Sassafras Lass. The blues and greens in that collection, along with the pretty florals, had a soft and feminine feel, so I chose to use lots of coordinating papers from Momenta's new Butterfly Garden collection:
I then went through my cardstock and picked out some solid cardstock colors that coordinated with my papers. My cardstock is from a mix of companies-mostly Bazzill and SEI. I also use a lot of white, ivory, and kraft cardstock on all of my projects, but I have special open shelves for that in my scraproom, so I just pull those sheets as needed.


I always find myself running short on alphas toward the end of the month, so I try to include a lot. I have pink, charcoal, and yellow alpha stickers from Basic Grey, as well as multi-colored mini alphas from Momenta. My element stickers are from Basic Grey-the journaling spots on this sheet really reminded me of those in the inspiration kit.


Finally, I added the "fun stuff". :) For embellies, I included some phrase stickers (also from Moment's Butterfly Garden collection), lots of ribbons and lace pieces, and some little ribbon flowers from the Walmart clearance bin. I had some of the Bella Blooms from the inspiration kit, so included those, too. They are a little bit bigger than what I usually use-not sure yet what I will do with them! I also loved the metal embellies from the inspiration kit, so I added a few of those, too: some large decorative brads, engraved charms and painted tab embellies.


I created some layered stamped flower embellies using some of my Ippity stamps and patterned papers-I will be back tomorrow with a tutorial for you. Be sure to check out all of the Master Forgers' kits HERE on the Counterfeit Kit Challenge Blog, and visit their personal blogs for details and to leave some love. :)


Thanks for stopping by today!

Monday, July 11, 2011

Get Well Soon

Here's a sweet little card that I shared during my last ShareCroppers class. The heart stamp and sentiment are both from {ippity}'s "How YOU Doin' " stamp set. These pretty little patterned papers are from SEI's Happy Day collection.

Love these stamps! Visit my Etsy shop to see all of the sets I have available for purchase. I'd love to be your {ippity} chick!
To see other great cards made with {ippity} stamps, visit this week's Linky Party. Thanks for stopping by!

Tuesday, July 5, 2011

Just Because

A quick share today. :) This is one of the cards that I demonstrated at my last workshop. It uses the "How YOU Doin' " stamp set from {ippity} and papers from SEI. This set is super-cute and includes lots of great card sentiments and small icons. PERFECT for a beginner stamper or just to round out your own stamp collection. Email your order to me and get 10% off and FREE shipping! Also, today is release day for 2 new {ippity} stamp sets:

Thankful for You-ONLY $5.40!


AND


SHINE, SHINE, SHINE-$16.20


These prices are the absolute lowest that {ippity} will allow us to sell at, so there is no need to shop around! Plus, you get FREE SHIPPING! To order, email me at sharecropperskits@gmail.com. I accept PayPal, so ordering is easy!

Thursday, May 26, 2011

Us.

***This is my second post for today. Please scroll down for my Momenta Faux Bingo Markers Project.***


When I look at this layout, it's hard to believe that I actually made it. First, it's a layout. And it's completed. Go me, lol! Second, it's a 12 x 12 layout. Usually I scrap 8.5 x 11, but the past few that I have done have been 12 x 12. I like it. :) Finally, I used eyelets. Amazing! I don't remember the last time I used an eyelet!

So, I finished a cute layout using one of my all-time favorite photos of Donny and the kids. I actually finished 2 layouts today, but you'll have to come back tomorrow for the second one. It's for the Counterfeit Kit Challenge Master Forgers' Blog Hop tomorrow! You won't want to miss it!

Wednesday, April 27, 2011

Counterfeit Kit Challenge Blog Hop

Welcome to your next stop on the Master Forgers' Blog Hop for the month of April! If you didn't start at the beginning, you will want to head over to the Counterfeit Kit Challenge blog so you start from the very beginning. You won't want to miss any of the beautiful projects created by (and inspired by) our amazing DT!


Our challenge this month was to surf the DT's personal blogs for inspiration. It was so hard to choose just one designer to scraplift! Finally, I chose a layout that I felt worked really well with my photo and the supplies remaining in my kit. I just loved this layout by Lisa:

Here is my layout:

I also have a fun giveaway for one lucky commenter! Master Forger Kim and I have made mini add-on kits inspired by this month's Counterfeit Kit Challenge-and we're giving them away! All you need to do is leave a comment here on my blog and you will automatically be entered. I will announce the random winner on Sunday night. Here's the mini kit up for grabs:


Your next stop on our fabulous blog hop is Kim's amazing blog, Love-Joy-Scrap. Thank you so much for visiting with me today!

Sunday, April 24, 2011

A New Winner...

I had to draw a new winner for the Club SEI kit. Although I drew Melmal as my winner lastweek, I have not heard from her and have even sent her a message. Because I have not gotten a response, I chose another winner. Random.org selected #75, Brenda Urbanik! Congratulations, Brenda! Please email me at sharecropperskits@gmail.com to let me know your contact info and I will mail this out to you! Thanks so much for being a follower!

Friday, April 15, 2011

Counterfeit Kit Challenge-Memorabilia

I am so excited to share my very first chipboard mini album with you! I had so much fun making this-I can't wait to add my photos and memorabilia! I can't yet because I made this album to document my upcoming weekend at CKC-Manchester with my scrappy friend, Lesa!

The page above has a fun pocket on the right-hand side. Recognize it? I "stole" a leftover pocket from my March kit! Then I dressed it up a bit with alpha stickers, a border sticker and some gems. This pocket will hold my class stubs from Friday and any other items that I want. The pocket is 5" wide.
This page also includes a fun pocket to hold memorabilia, probably the stubs from my Copic classes. Can you spot it? It's my mini transparency! I need to tell you how I made this transparency on a budget! I recently transferred all of my Imaginisce Snag 'Em stamps to a Cropper Hopper folder. Each stamp had 2 square transparencies in the package-one printed with the design and one that was "plain". Being the frugal scrapper that I am, I had to save those plain ones! They were the perfect size for the heart stamp that I used for this kit. I stamped the image with black StazOn ink, then colored the back side with Bic Mark-It markers. Then I trimmed around the top of the heart to add a fun edge and stitched it to my paper. Cute little free pocket!

And did you see the zipper flower! It was SO easy! I made it using Becky Olsen's tutorial, but I used Glue Dots instead of the double-sided tape that she recommends. Worked great!

Thanks for stopping by to check out my mini! Don't forget to visit the Counterfeit Kit Challenge blog for the other designers' takes on this challenge!

Tuesday, April 12, 2011

Winner!

I used Random. org for the first time ever to select my winner...but I can't figure out how to do a screen capture with my laptop. :( So, you'll have to trust me on this one. The winner is...#99, Melmal! Melmal, to claim your kit, please email me your contact info at sharecropperskits@gmail.com. I need to hear from you by Sunday, you lucky girl! ;) A big thank you to everyone who reads and follows my blog, both newbies and seasoned readers, lol! I appreciate you all! :)

Sunday, April 10, 2011

Giveaway time for Followers!


We're at 98 followers right now-so close to 100! How about I sweeten the deal a little bit by offering a giveaway? When we hit 100 followers, I will choose one random follower to win the May kit from Club SEI. So, what are you waiting for? :)

p.s. Be sure to check back later this week to find out the winner!

Wednesday, March 23, 2011

Counterfeit Kit Challenge-Frames


I have admitted many times that I have a seemingly endless supply of chipboard. It was one of those supplies that I bought a TON of when it first became popular, but didn't use very often. I just WANTED it. Now I am trying to use it more often-tyring to make a dent in that stash!

For our "Frames" mini challenge, I turned to my stash of chipboard. Many of you may consider this to be cheating, since the chipboard is not technically part of my kit. I keep my chipboard in the original 12x12 packaging, so it would be difficult to fit in with my kit. Also, I figure ANYTHING that will help me to use up my stash should be legal, lol! So I keep my chipboard sheets hanging in my scraproom closet, readily accessible.

Although I loved this scalloped chipboard frame, it was a little overwhelming for my 8.5x11" layout, especially since I wanted to include at least two photos. So, (gasp!) I CUT one side off of that pretty chipboard frame. Of course, I couldn't bear to throw it away-I tucked it into my kit to use on another project later this month. :)

This was a naked chipboard frame, so I first painted it with acrylic paint, then used Versamark ink and iridescent embossing powder to give it some shine and sparkle. I finished my frame by adhering a little aqua gem in the hole of each scallop.

How will you include a frame on your project? I can't wait to see your takes on this challenge!

Saturday, March 19, 2011

Just Wanted to Say "Hi"...


Just a quick share today of a card that I made this week using my March Counterfeit Kit, a cute digi stamp from Tiddly Inks, and a fun sketch from Twisted Sketches. I have had this little hedgehog saved in my digi stamp folder for a while now. Isn't he the cutest? A friend of mine recently lost someone very near and dear to her, and since she loves hedgehogs, I thought I would drop her this little note.

These aren't colors that I would have ever though to put together without the help of my Counterfeit Kit, but I love the finished card! I especially love the punched borders. These are two that I punched when Lesa, Cindy and I had our Punch & Lunch last month. I love having these borders all punched and ready to go! I added a tiny row of machine stitching across the flower border, then topped each flower with aqua gems. I think it adds a sweet, girly touch to this card. I hope it makes my sweet friend smile. :)

If you haven't checked out the Counterfeit Kit Challenge Blog lately, you need to head on over! Right now, we have an Etsy-inspired challenge going on, plus all of the new DT members are being introduced over the next few days. Stop in and say "hi"!

Monday, March 14, 2011

Mini Challenge: Etsy Inspiration


This week's Counterfeit Kit Challenge is to be inspired by a project from Etsy. HERE is the project that I chose. I have always loved the look of printer's trays, but finished ones tend to be a bit pricey. I knew I could make my own for a fraction of the price. To save even more money, I found a small shadowbox at Goodwill to alter. The price was definitely right: 45 cents!


Here is a before photo:

Pretty outdated and dusty, huh?
Here's what it looks like now:
Here are the details:
Top left: I cut this butterfly from my lace paper, but the color just didn't "pop" like I wanted it too. So, I covered the butterfly with Versamark ink and heat embossed it twice with silver embossing powder. Two bling brads form the body.
Top right: I stamped the sewing machine on a piece of clear packaging (from the Bella Blvd. fabric flowers.) I then paper pieced just the body of the machine and added an epoxy brad and some stickle-y thread. For the "fabric", I cut a little slit in the transparency and threaded a scrap of rickrack through.
Middle left: Just a rub-on and gems on a Spellbinders die-cut.
Middle right: I cut a Spellbinders die-cut in half, then distressed the edge so it looks like a tiny notebook edge. Studio G stamp and butterfly punches, plus a little doily that I created with an EK Success border punch.
Bottom left: My favorite! I stamped the dressform on the same clear packaging from the flowers and paper pieced the dress. The text flowers are just two punched flowers, adhered together with a foam square and topped with a button and gems. The little metal flowers are my soda can flowers. :)
Bottom right: I trimmed a corner off the stamped doily from my kit, then topped it with a butterfly rub-on on white cardstock. I popped the butterfly up with foam squares. I love this punched flower, too. I layered three Martha Stewart flower punches, attached an epoxy brad, then "squished" the petals up to give it some dimension. The tiny stamp is from an old (uninked!) Studio G set.
Thanks so much for stopping in today! I hope you can join us for this challenge this week! Check out the details at the Counterfeit Challenge blog!

Sunday, March 13, 2011

My Counterfeit Wildflowers Kit

With this kit, I once again started with one paper, inspired by the Studio Calico kit. I chose the butterfly print from Basic Grey, then found some coordinating papers similar to the inspiration kit. My lace paper has butterflies, which went perfectly with this kit! I printed the sign language and song cards from websites, and I was AMAZED to find the images identical to those in the inspiration kit! Glittery die-cut letters and vellum sentiment stickers from Momenta, and lots of fabric flowers from my stash complete this kit. I am hoping to try some fun things with Meridy and Bethany's flower tutorials, but I really want to use up these flowers, which have been in my stash for too long. :)
Be sure to stop back tomorrow, when I reveal my project for our Etsy-Inspired Challenge!

Thursday, March 10, 2011

My Counterfeit Mossy Knoll Kit

This is the most masculine portion of my March kit-lots of geometrics and neutral colors. For papers, I started with the stripe in the bottom right corner because I felt that would be the most challenging to match in my stash. Once I found this stripe from My Mind's Eye, I was able to build my papers around it. I'm not sure if I would use the papers from just this kit, but I think they will make interesting additions to projects made from my other kits.
A fun addition to this kit was the package of metal flower brads. I LOVED these and couldn't wait to make something similar! I was able to make my own for literally pennies, which made me very happy. Scroll down to my next post for the tutorial for my flowers, plus see a sneak peek of a project that I made using them!

Tuesday, March 8, 2011

"Get the Look"-Cosmo Cricket's Cocktail

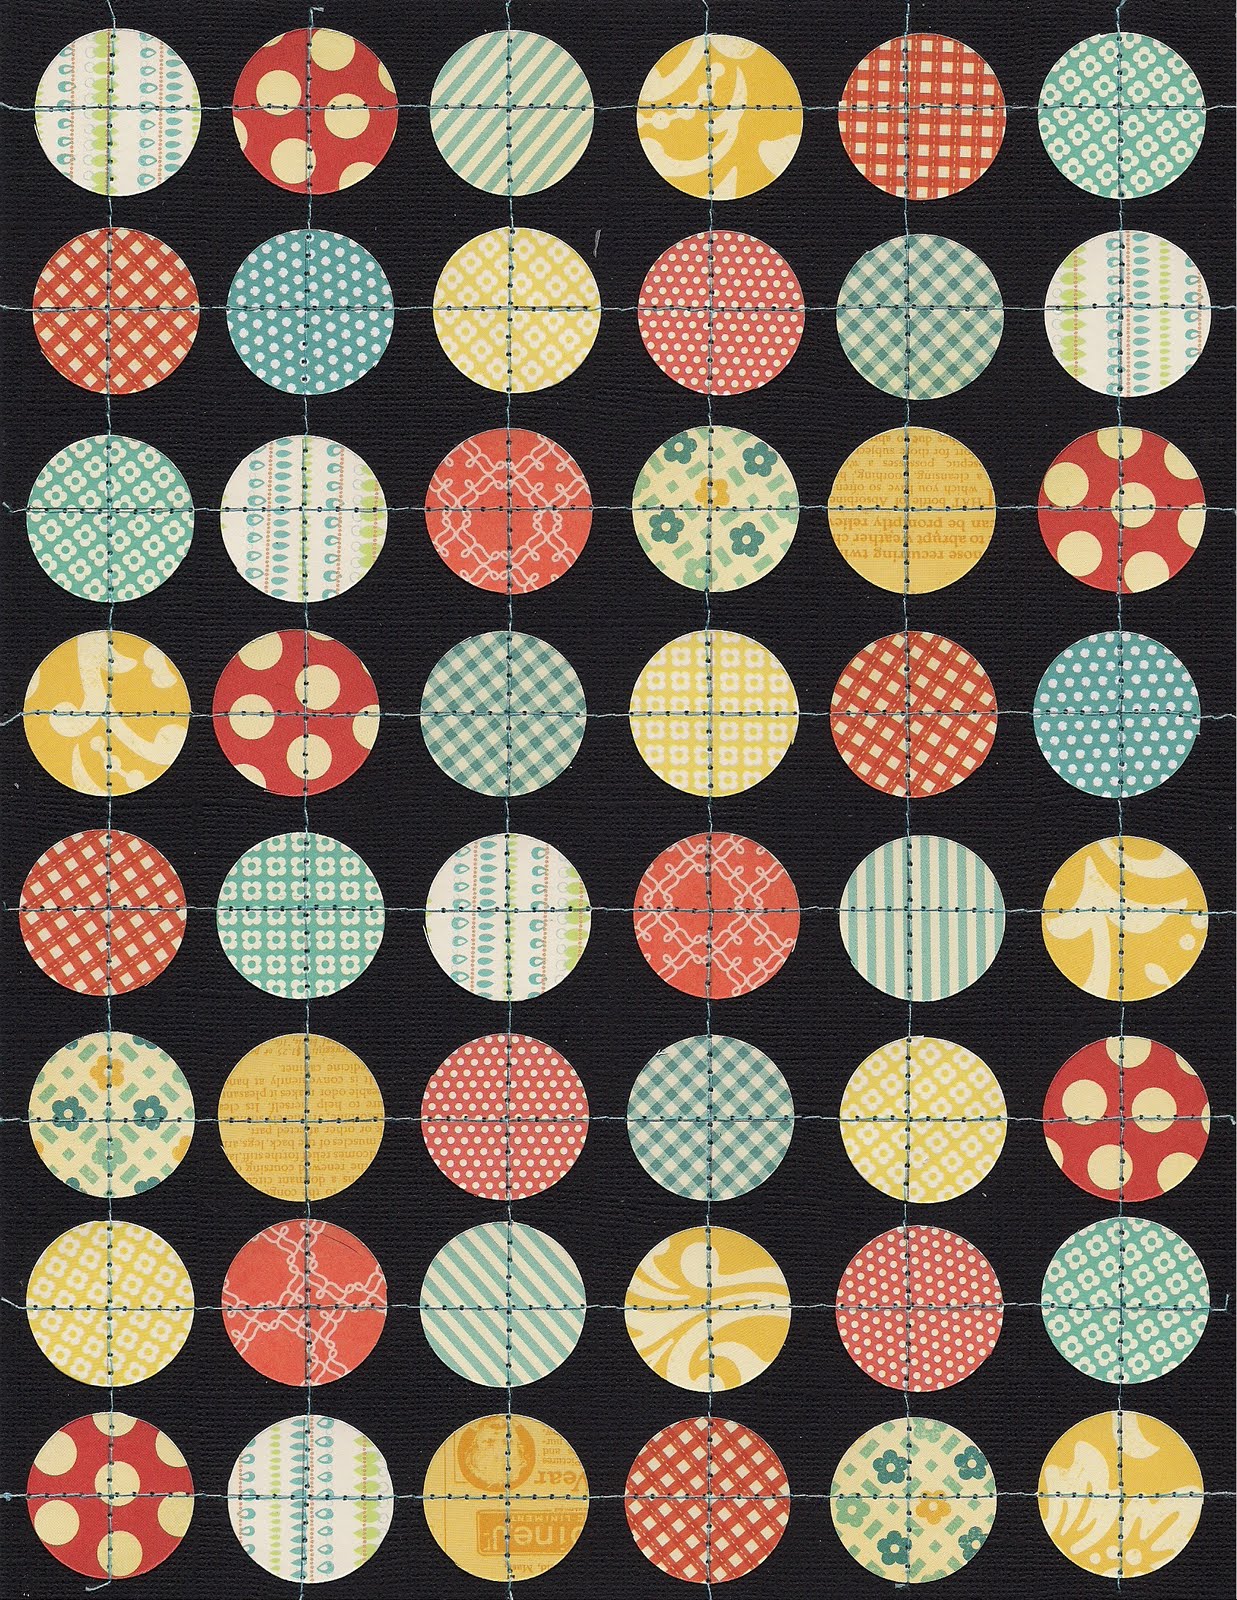
My first example of how to "get the look" of Cocktail, one of Cosmo Cricket's fun new Social Club papers, is very similar to what Bethany shows you in her tutorial HERE on the Counterfeit Kit blog. I simply machine-stitched over each row of circles, using a contrasting thread. Fun look, don't you think? Try this with other shaped punches, too-think butterflies, hearts, flowers...


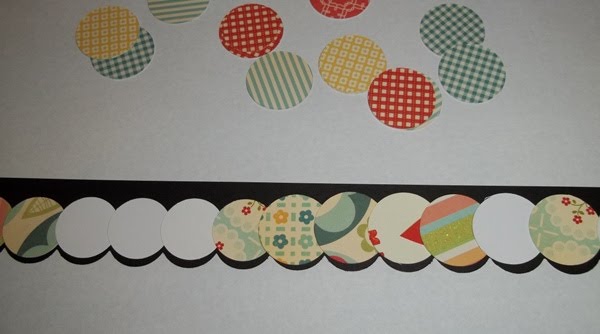
The next way to "get the look", but on a smaller scale, is to punch a solid cardstock border using a large scalloped border punch (mine is from EK Success.) I also punched lots of 1" circles from scraps.

Next, flip your cardstock border over and apply adhesive adross the entire border. I put my border on scrap paper and just ran a tape runner over the entire strip, right over the punched holes. You can see the shine of the adhesive in the photo.
Now you're just going to layer the circles over the back of the border. I overlapped each circle so you can only see one pattern through each punched hole.


Here is the finished border:


I love those pops of color! And because this was made from the materials from my kit, I'm going to use this border on a project this month, too! Thanks for stopping by!


Monday, March 7, 2011

Island Lunch


Today I'm sharing my first layout of the month from my March Counterfeit Kit. I used papers and embellies from both my main kit and my add-on kits. You can see the contents of my main kit in THIS post. I will be sharing my add-on kits all this week, so be sure to check back to see what goodies I've unearthed in my scrap room!

For this page, I kept the design pretty basic, but added some fun little accents. I had this lonely yellow flower in my stash, so I folded it in half and added a button to to top. Although it is meant to be a flower, it kind of reminds me of a little sunshine peeking up above the photos. I tucked a little journaling spot behind the flower, then added a sprinkling of buttons and bling brads.

I embellished my buttons by using some of the tiniest rub-ons from my kit. I think they add just the right amount of whimsy to this layout. I even made a few extras just to have ready in my kit. These would make great little accents for a card or tag, too. It helps those little rub-ons from getting lost on the project.

Hope you can stop in tomorrow for the reveal of my first add-on, my Counterfeit Babbling Brook kit. Lots of handmade papers and accents, and some tips for how you can "get the look."

Sunday, March 6, 2011

March Counterfeit Kit Challenge

I'm so excited to be the Guest Designer this month at the Counterfeit Kit Challenge Blog! This month's inspiration kits are from Studio Calico. That's right-I said kits, with an "s"! Not only are Meridy, Bethany and I counterfeiting the main kit, but we also are each making the FOUR add-on kits! Lots of scrappy goodness, I tell you!
Today, we are each sharing our main kits on the Counterfeit Kit Challenge blog, and I am sharing mine here with you. Here is the main inspiration kit from Studio Calico:


And here is my kit:

With this kit, I was able to match almost all of the papers very closely. The only exception was the Woodland paper (top, second from the left.) I chose a repeating aqua pattern from Basic Grey. The colors in this pattern worked well with the other papers in my kit. My cardstocks are Lagoon, Watermelon, Crushed Curry, Kraft, White, Ivory and Black. I have also included a couple of small scraps of green that matched one of my add-on kits perfectly.

When it came to the embellishments, however, I had to make some substitutions. I started with the bee stamp. I don't have a bee stamp, but I saw this pretty butterfly stamp that a friend recently gave me. I added that to my kit, and that inspired me to add the chipboard butterflies. My label stickers are from Martha Stewart, and the colors go well with my papers. Finally, instead of the larger letter stickers and title die-cut, I included a rub-on alphabet and a package of Basic Grey rub-ons. The rub-ons have lots of icons (including some bees) and sentiments which would work well for either cards or layouts.

I will also add buttons as I make my projects. I discovered in January with my first kit that it is much more practical for me to keep my buttons in their original jars and just take what I want as I go.

Thank so much for stopping by today! I can't wait to show you my add-on kits, plus I am itching to start making some projects to share! Don't forget to take photos of your kits and share them on the blog or on the Counterfeit Kit Facebook Page-we'd love to see how you're inspired by the kits!


Wednesday, February 16, 2011

My Counterfeit Kit for February

I have to admit that this month's Counterfeit Kit Challenge was a huge challenge for me. While I loved the color swatches that Bethany and Meridy posted before the kit reveal, I was very intimidated when I saw the actual inspiration kit. It was totally not my style-not the colors, the patterns, embellies, anything. But I really wanted to play along, so I thought a lot about how I could use the inspiration kit.
I decided to make a list of kit contents, but in a very general way. First, I started with the papers. Rather than try to match the papers in the inspiration kit exactly (which would have been impossible from my stash), I wrote down what the inspiration kit contained: a distressed solid, a flourish/heart pattern, a polka dot, a basic geometric pattern, and three all-over patterns. Now this was a list I could work with! I started with the flourish/heart pattern. I looked through my patterned paper and found this beautiful heart flourish paper from the Bittersweet collection from Basic Grey. This is the paper that I built my entire kit around. I had the matching stripe, so that took care of my basic geometric. I was then able to pull other papers that coordinated. I added a distressed pink solid from Basic Grey (a different line, but still matched), a kraft/cream polka dot, and three all-over patterns: the heart woodgrain (Imaginisce), cream flower (My Mind's Eye) and little fruits (an old Basic Grey line-Recess.) I added one other patterned paper-the numbers-which remind me of the bingo card in the inspiration kit. I didn't end up using the bingo cards from my January kit, so I substituted patterned paper. I think that I am more likely to use this paper than the actual bingo cards.

For embellishments, I found some great printable postcards, tags, and vintage images on Flickr. I also fell in love with the printable doily tags, which I believe were linked on Write. Click. Scrapbook. I also threw in some journaling boxes which were leftover from an SEI album kit.
I found that I didn't include enough letter stickers in my January kit, so I really loaded this kit up with some fun stickers and rub-ons. More mini alphas from Making Memories, a sheet of Basic Grey stickers that have sat untouched in my stash for 3 years (since my very first CKC class!), two different sets of rub-ons from Imaginisce and Cosmo Cricket (thank you, Eryn Hagen!), some pearl flourishes and Momenta Bubbles & Bling. The Bubbles & Bling will work great in place of the mirrored embellies in the inspiration kit, which really weren't my style.

For 3D embellies, I included some chipboard pieces from Colorbok (flourishes) and Fancy Pants, large postage stamp die-cuts which I plan to use for a card base, tiny pearl ribbon slides, and assorted trims. I am anxious to make some of the faux Prima flowers, but I will do that as I make my projects. I also plan on using buttons on my projects, but I found it was just as easy to add the buttons to my kit as I go along. My buttons are all sorted by colors in individual jars, so I can easily just pick what I want. :)

Finally, I added two sets of seriously neglected clear stamps. The smaller set is The Language of Love by Technique Tuesday. The flourishes are from Gel-a-Tins. These stamp sets will work really well with my papers, and I hope that by including them in my kit I will remember to use them!

Thanks for stopping by today. I know this was a long post. Hopefully I have inspired you to think outside of the box a little bit when it comes to finding inspiration in other kits or projects. Can't wait to start creating with my Counterfeit Kit!