

Good morning, Hoppers! Welcome to your first stop on Day 2 of the Lily Pad Cards Blog Hop! Today's cardmakers are literally going to make you ribbit out loud! Each day, the hop will span 7 different blogs, then culminate on Friday, April 1, with the grand opening of Lily Pad Cards. Lily Pad Cards is a new challenge blog that will feature interviews, articles, videos, challenges, great prizes, and more!
Although Lily Pad doesn't officially bloom until April 1, 2011, you'll be able to see a new sneak peek every day until then. And you'll definitely want to drop by because there are three prize packages with a total retail value of over $800 (WOW!)-including $100 worth of gift certificates to a very popular online store! Go HERE for specific prize details and contest rules.
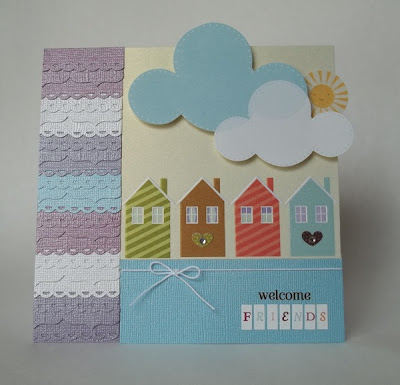
The theme of our hop is "welcome"-not only are we welcoming Lily Pad Cards to the neighborhood, but we're also welcoming all of you to come in and join in on the fun.
Thanks for being neighborly and hopping by my pad today! Your next stop on the hop is the incredibly talented Jill Foster: http://www.stampinginspiredby.blogspot.com/. If you hit a bad link, you can always hop back to the Lily Pad and click on the next link in the hop. We'd also appreciate it if you would report any bad links to webmaster@inlinkz.com.
Happy hopping!


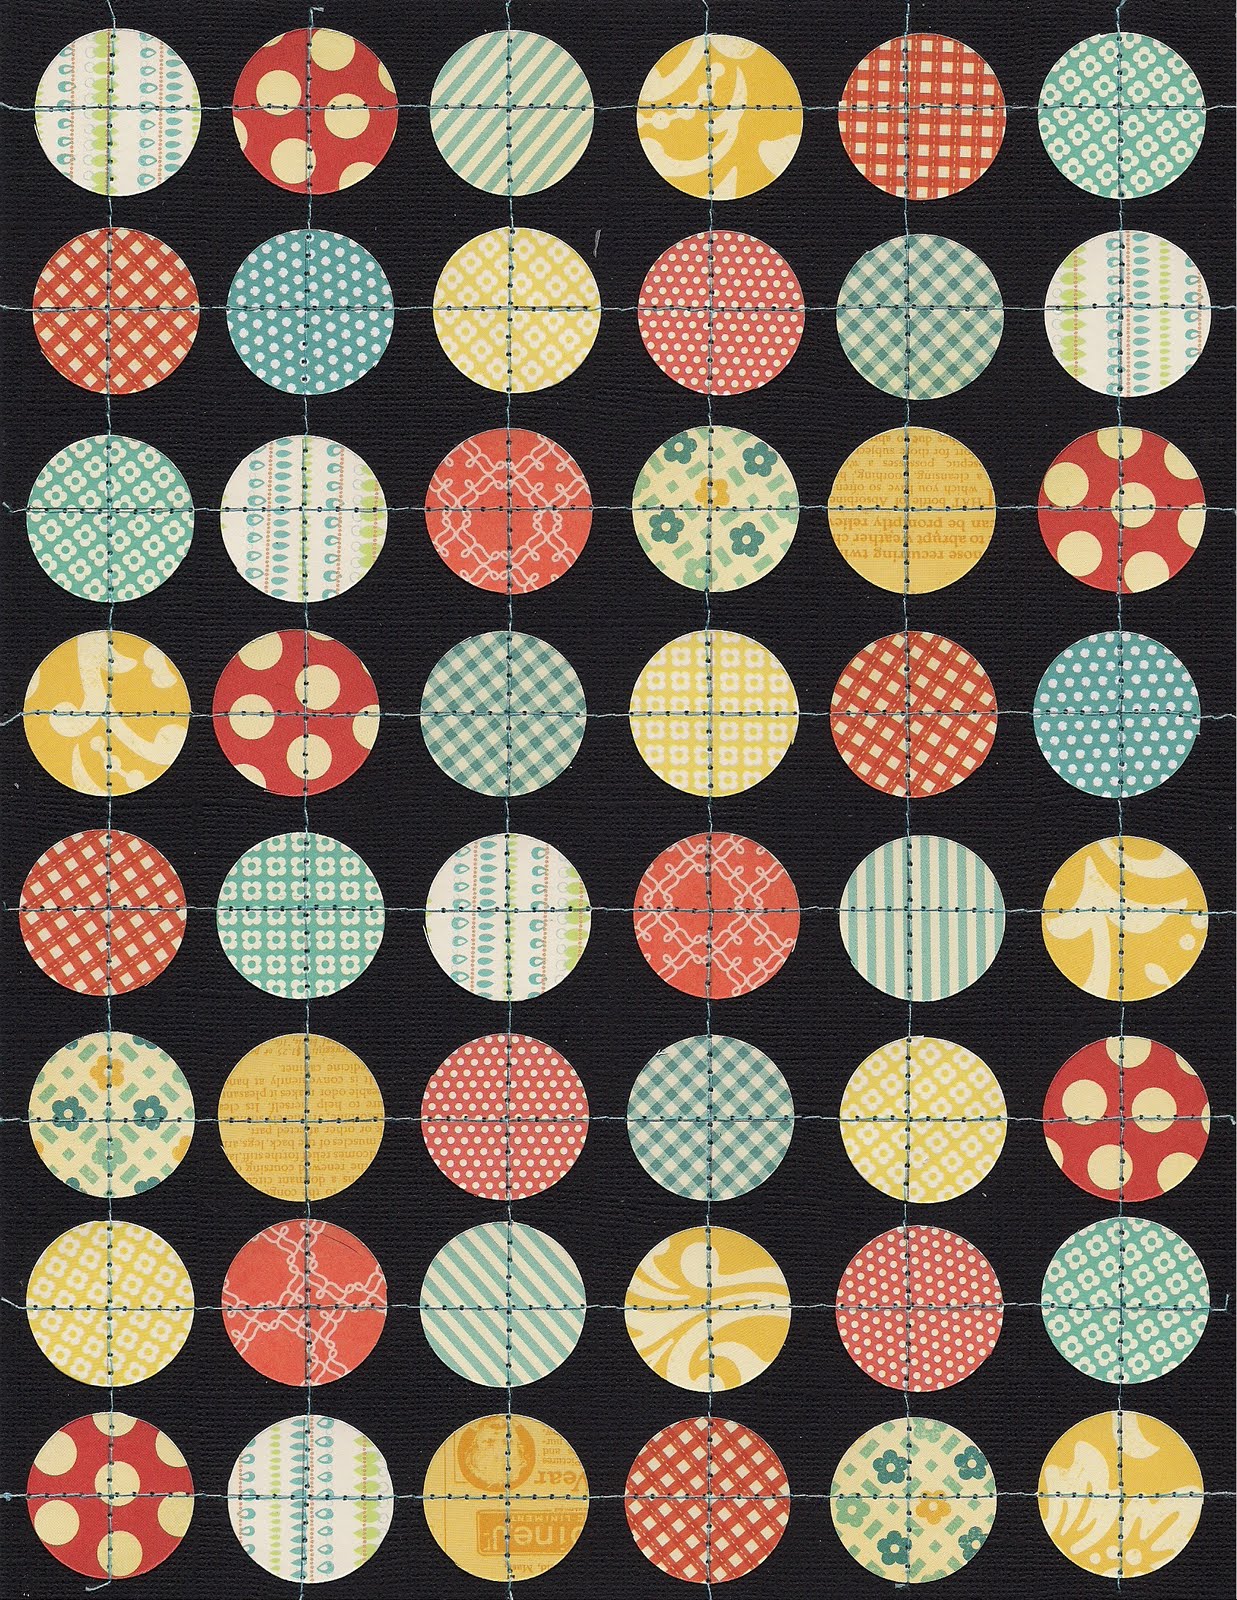


 And here is my kit:
 With this kit, I was able to match almost all of the papers very closely. The only exception was the Woodland paper (top, second from the left.) I chose a repeating aqua pattern from Basic Grey. The colors in this pattern worked well with the other papers in my kit. My cardstocks are Lagoon, Watermelon, Crushed Curry, Kraft, White, Ivory and Black. I have also included a couple of small scraps of green that matched one of my add-on kits perfectly.