
 Welcome back! I'm excited to share a photot tutorial for this sweet gift bag topper with you today. It is also the featured project on the Momenta blog today. If you haven't checked out the new blog yet, you should head over! (After you're done here, of course!)
1. Trim embossed cardstock to fit the width of the gift bag. (My gift bag measured 7.75" wide, so I trimmed my cardstock to 7.75" x 12". Make two score lines across width of cardstock to fold over the top of the gift bag.
 2. Trace edge of die-cut cardstock along short sides of embossed cardstock. (You can use any die cut paper because you are just using it as a template. You can also leave the edge of the bag straight if you prefer or are short on time.)
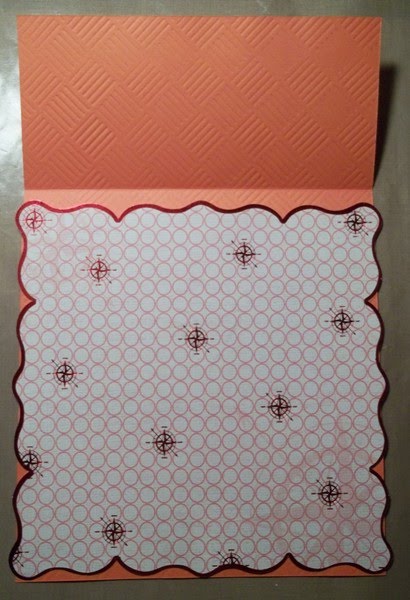 3. Trim along traced lines.
4. Mark handle placement on back side of cardstock.

5. Use paper trimmer to cut "slices" from the cardstock to slide over the handles. My "slices" were about 1/4" wide.
 6. This is what it should look like. Notice that I cut the "slices" from the top of the gift bag topper, not the sides. This will allow the topper to sit flat on top of the gift bag.

6. Sand cardstock. (This is a great way to show the contrasting core of your cardstock. Pre-embossed cardstock, such as Momenta's Hidden Hues, works great for this project!)

7. Fit topper over gift bag handles and embellish as desired. I used cardstock scraps and my Create a Critter cartridge (Cricut) to create a little ocean scene. This is such a fun project, and such a great idea for your scrap budget! Not only can you embellish using scraps and leftovers from other projects, but also the plain gift bags are 2/$1.00 at Dollar Tree! You can get my favorite, kraft, or fun colors like the teal one used in this project.
 6. This is what it should look like. Notice that I cut the "slices" from the top of the gift bag topper, not the sides. This will allow the topper to sit flat on top of the gift bag.
6. Sand cardstock. (This is a great way to show the contrasting core of your cardstock. Pre-embossed cardstock, such as Momenta's Hidden Hues, works great for this project!)

7. Fit topper over gift bag handles and embellish as desired. I used cardstock scraps and my Create a Critter cartridge (Cricut) to create a little ocean scene. This is such a fun project, and such a great idea for your scrap budget! Not only can you embellish using scraps and leftovers from other projects, but also the plain gift bags are 2/$1.00 at Dollar Tree! You can get my favorite, kraft, or fun colors like the teal one used in this project.
Thanks for stopping by today!
7 comments:
Sherri, that is so cute!! What a great way to dress up a present to make it fit any occasion! Thanks for sharing!!
SUPER adorable--love the octopus!! I also love that the top is orange--LOVE LOVE LOVE!!!
What a cute tutorial Sherri. thanks for sharing
Sherri, this is BRILLIANT!!! I hate the fact that gift bags are open - this is the perfect solution. THANK YOU!!!!!
Great tutorial Sherri! Thanks for the inspiration!
That is way too cute!! Love this, what a great tutorial you gave as well, must try this sometime!
Thanks for the tutorial! This is adorable, easy to do, and just what I was looking for.
Post a Comment